The yurt itself gets all the attention, but the platform underneath does a lot of the quiet work. A well-built base keeps the structure level, the canvas tight, the wood stove drawing properly and the floor warm in February. Get it right and your yurt is a joy to live in for a decade or more. Get it wrong and you’ll be chasing small problems forever.
We’ve built and helped customers build yurt platforms on all sorts of sites across Ireland — on hillsides, woodland clearings, family farms and garden corners. Here’s how we’d do it if we were building yours.
Step 1: Choose the site
Before you buy a single board, walk the site at three different times — early morning, midday and after sundown. You’re looking for:
- Drainage: avoid hollows where rainwater collects. Look for a slight natural slope or higher ground.
- Wind: yurts hold up beautifully in wind, but a full year of prevailing gusts will work the canvas harder. A natural windbreak — a hedge, a hillside, mature trees — protects the structure.
- Sun: think about where you want the morning light and the evening warmth. A south-facing aspect makes a yurt magic in summer.
- Access: can you get a small van or trailer reasonably close to the site for the install? Walking timber 200m through a wet field is doable but slow.
Step 2: Decide on platform diameter
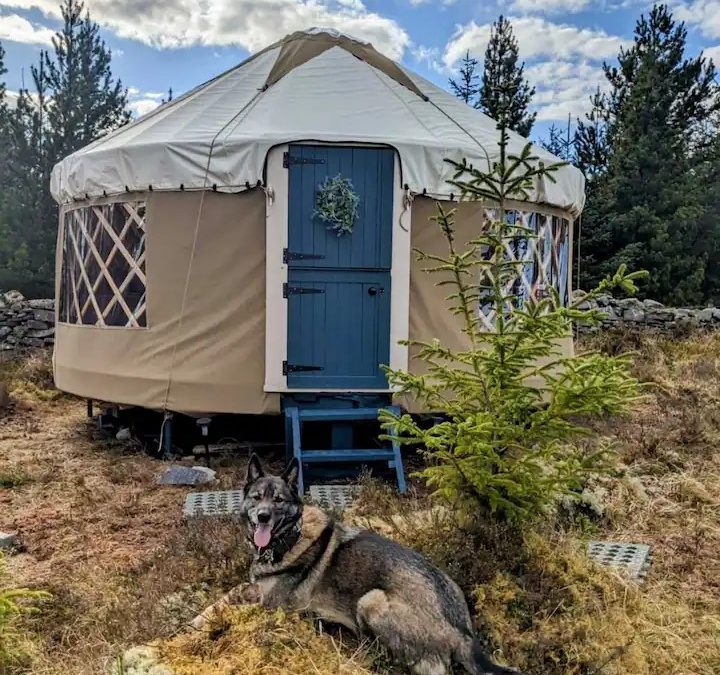
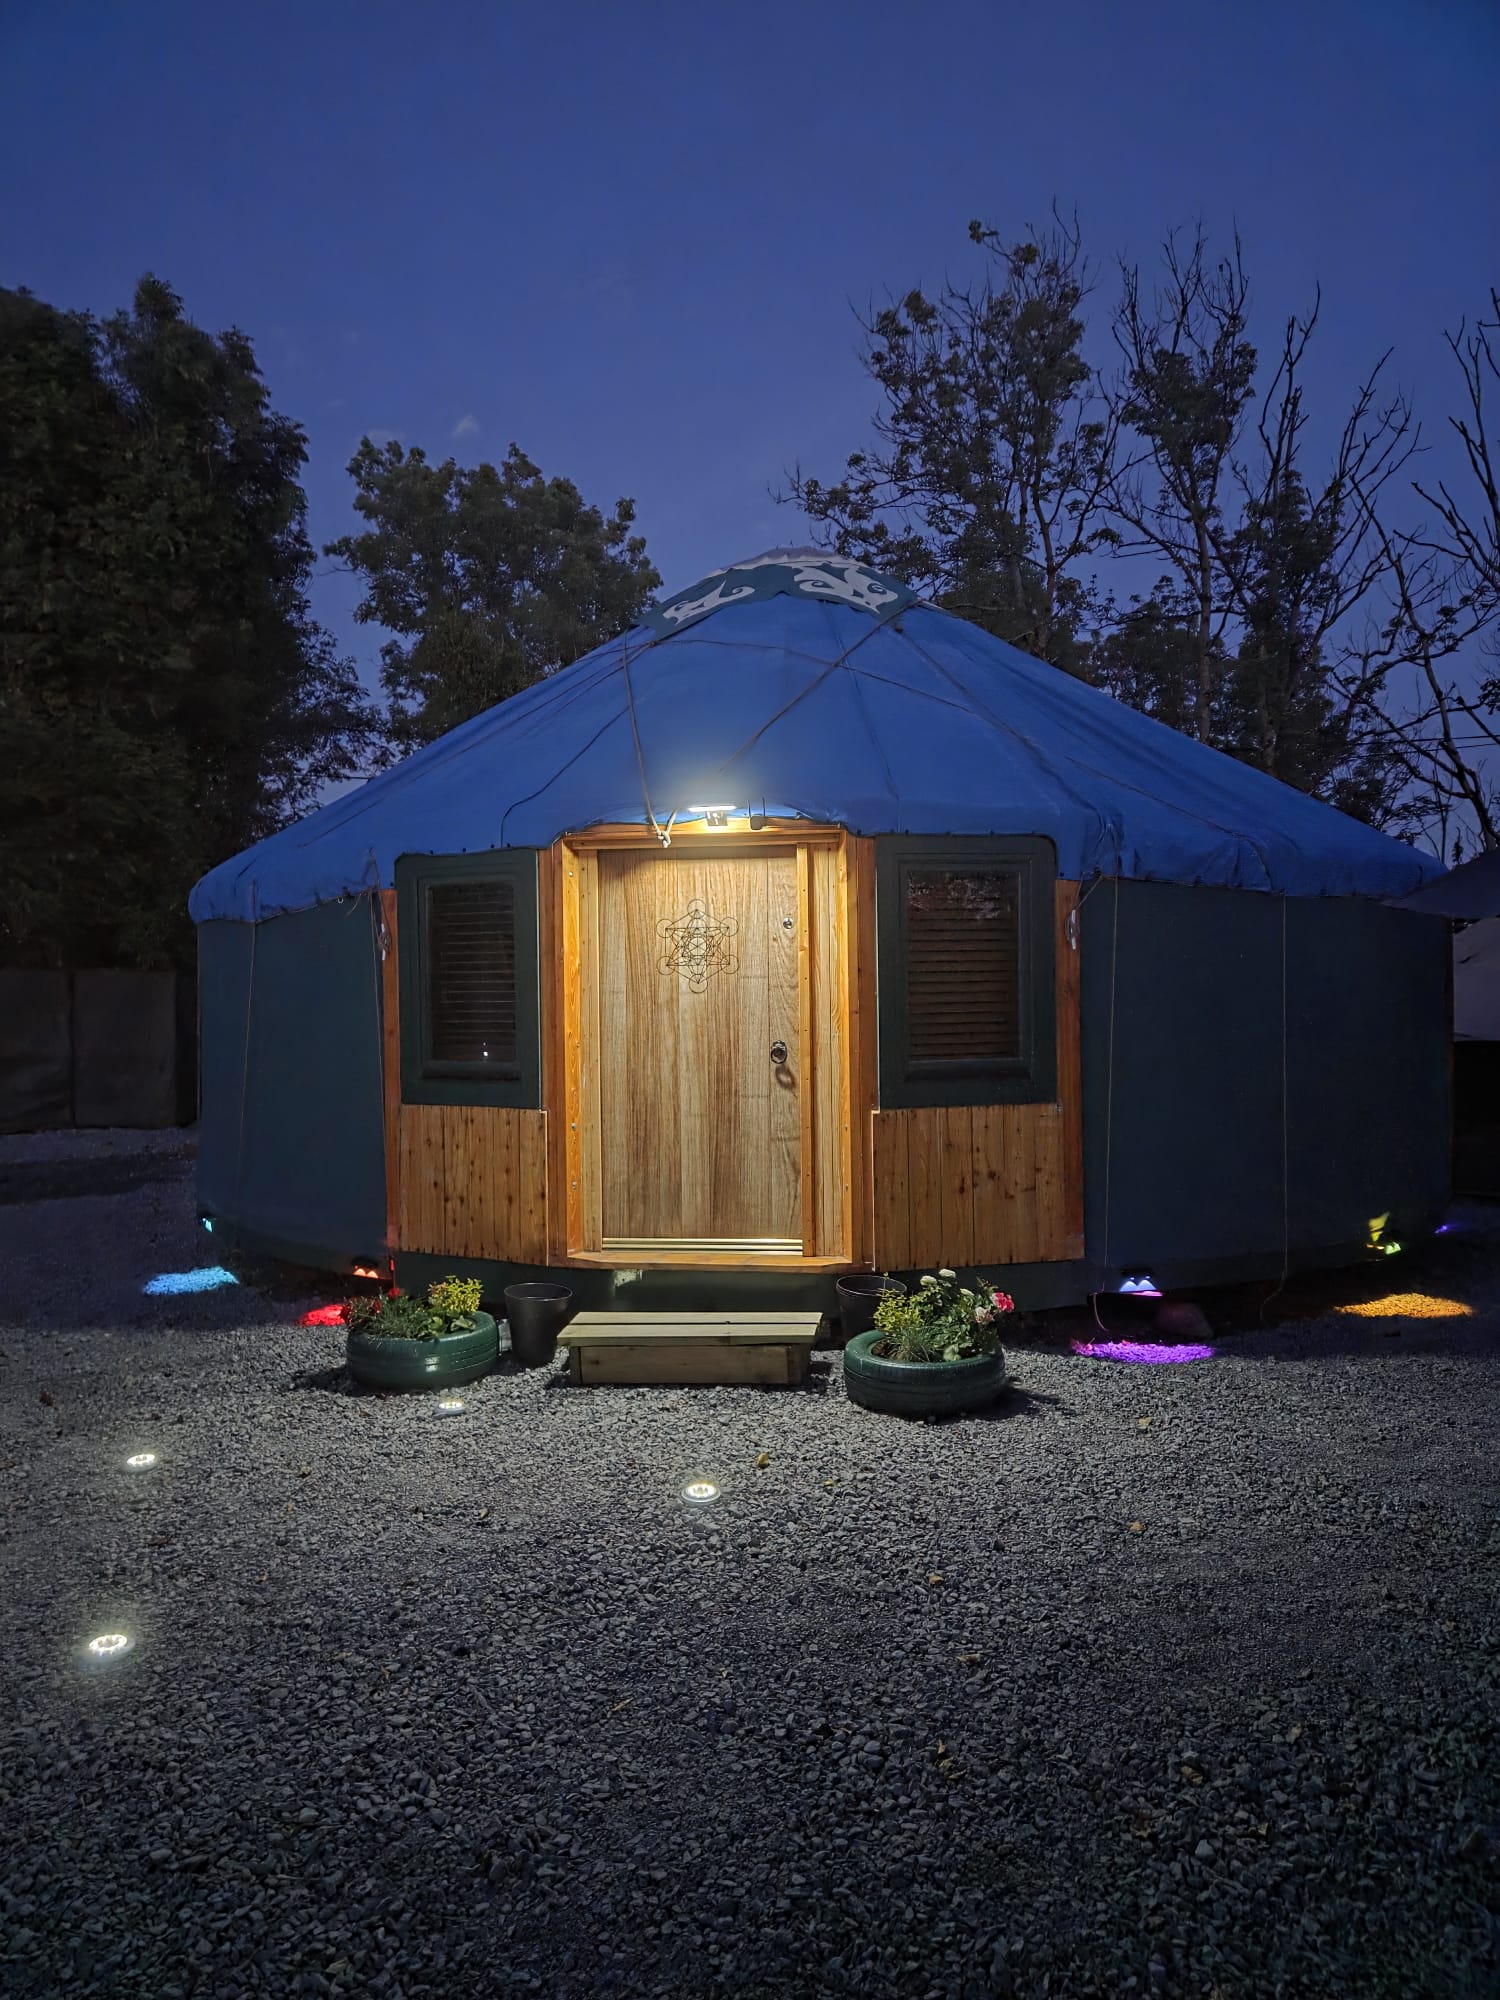
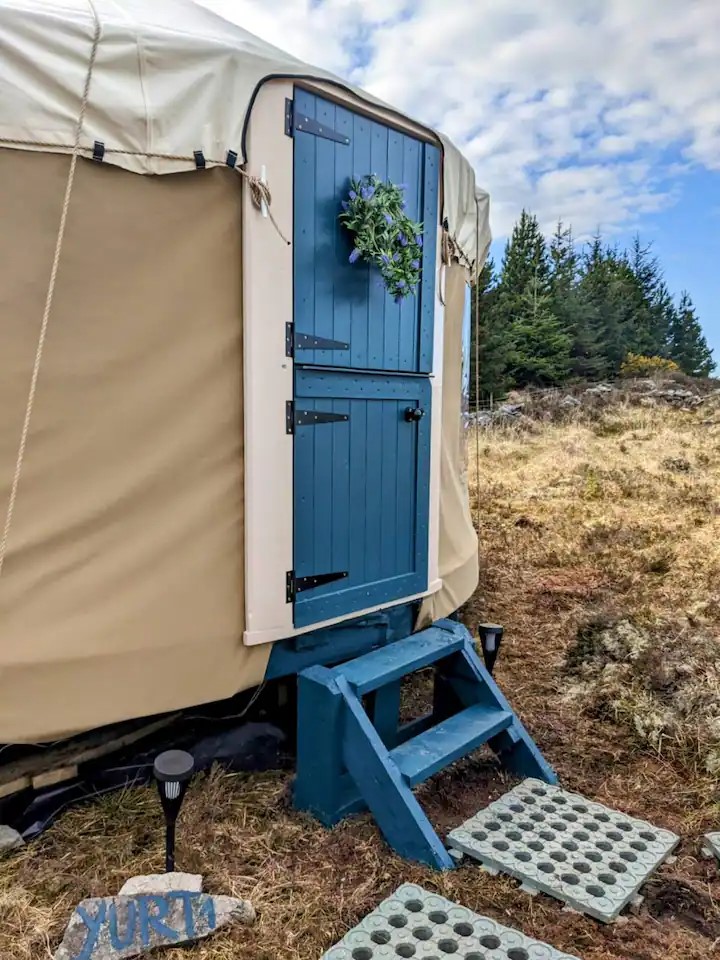
The platform should be the same diameter as the yurt — no smaller, no larger. A 6m yurt sits on a 6m platform. The canvas wall meets the platform edge cleanly, and the drip line from the roof drops just outside the platform edge.
We typically build platform subframes as a hexagon or octagon rather than a true circle — the geometry is easier with straight timber and the appearance under the yurt is almost identical.
Step 3: Materials
A standard insulated yurt platform uses:
- Pressure-treated softwood bearers (typically 150 × 50mm) running north-to-south or following the slope, set on either concrete pad blocks or — for a removable platform — ground screws.
- Joists (150 × 50mm or 175 × 50mm) running perpendicular to the bearers, spaced at 400mm centres.
- Insulation: 50mm or 100mm insulation boards fitted between the joists.
- Floor boards: tongue-and-groove softwood, or OSB/plywood for budget options.
- Edge timber: a 150mm rim around the platform perimeter to hold the canvas wall cleanly and give the platform a finished edge.
Step 4: Level and pad-out the pads
This is the step that quietly decides everything. Set out the pad block positions using stakes and a long spirit level — or laser level if you have one. Dig a small footing for each pad block, set the block, check level in two directions, backfill firm.
For a 6m yurt you typically want a pad block under every bearer end, plus intermediate supports — total around 9–12 pads. For a 7m yurt, 12–16 pads.
Spend the time here. A platform that’s 20mm out of level over its diameter will work — but the door will hang oddly, the stove flue will sit at an angle and small joinery issues will multiply over the years.
Step 5: Lay the bearers and joists
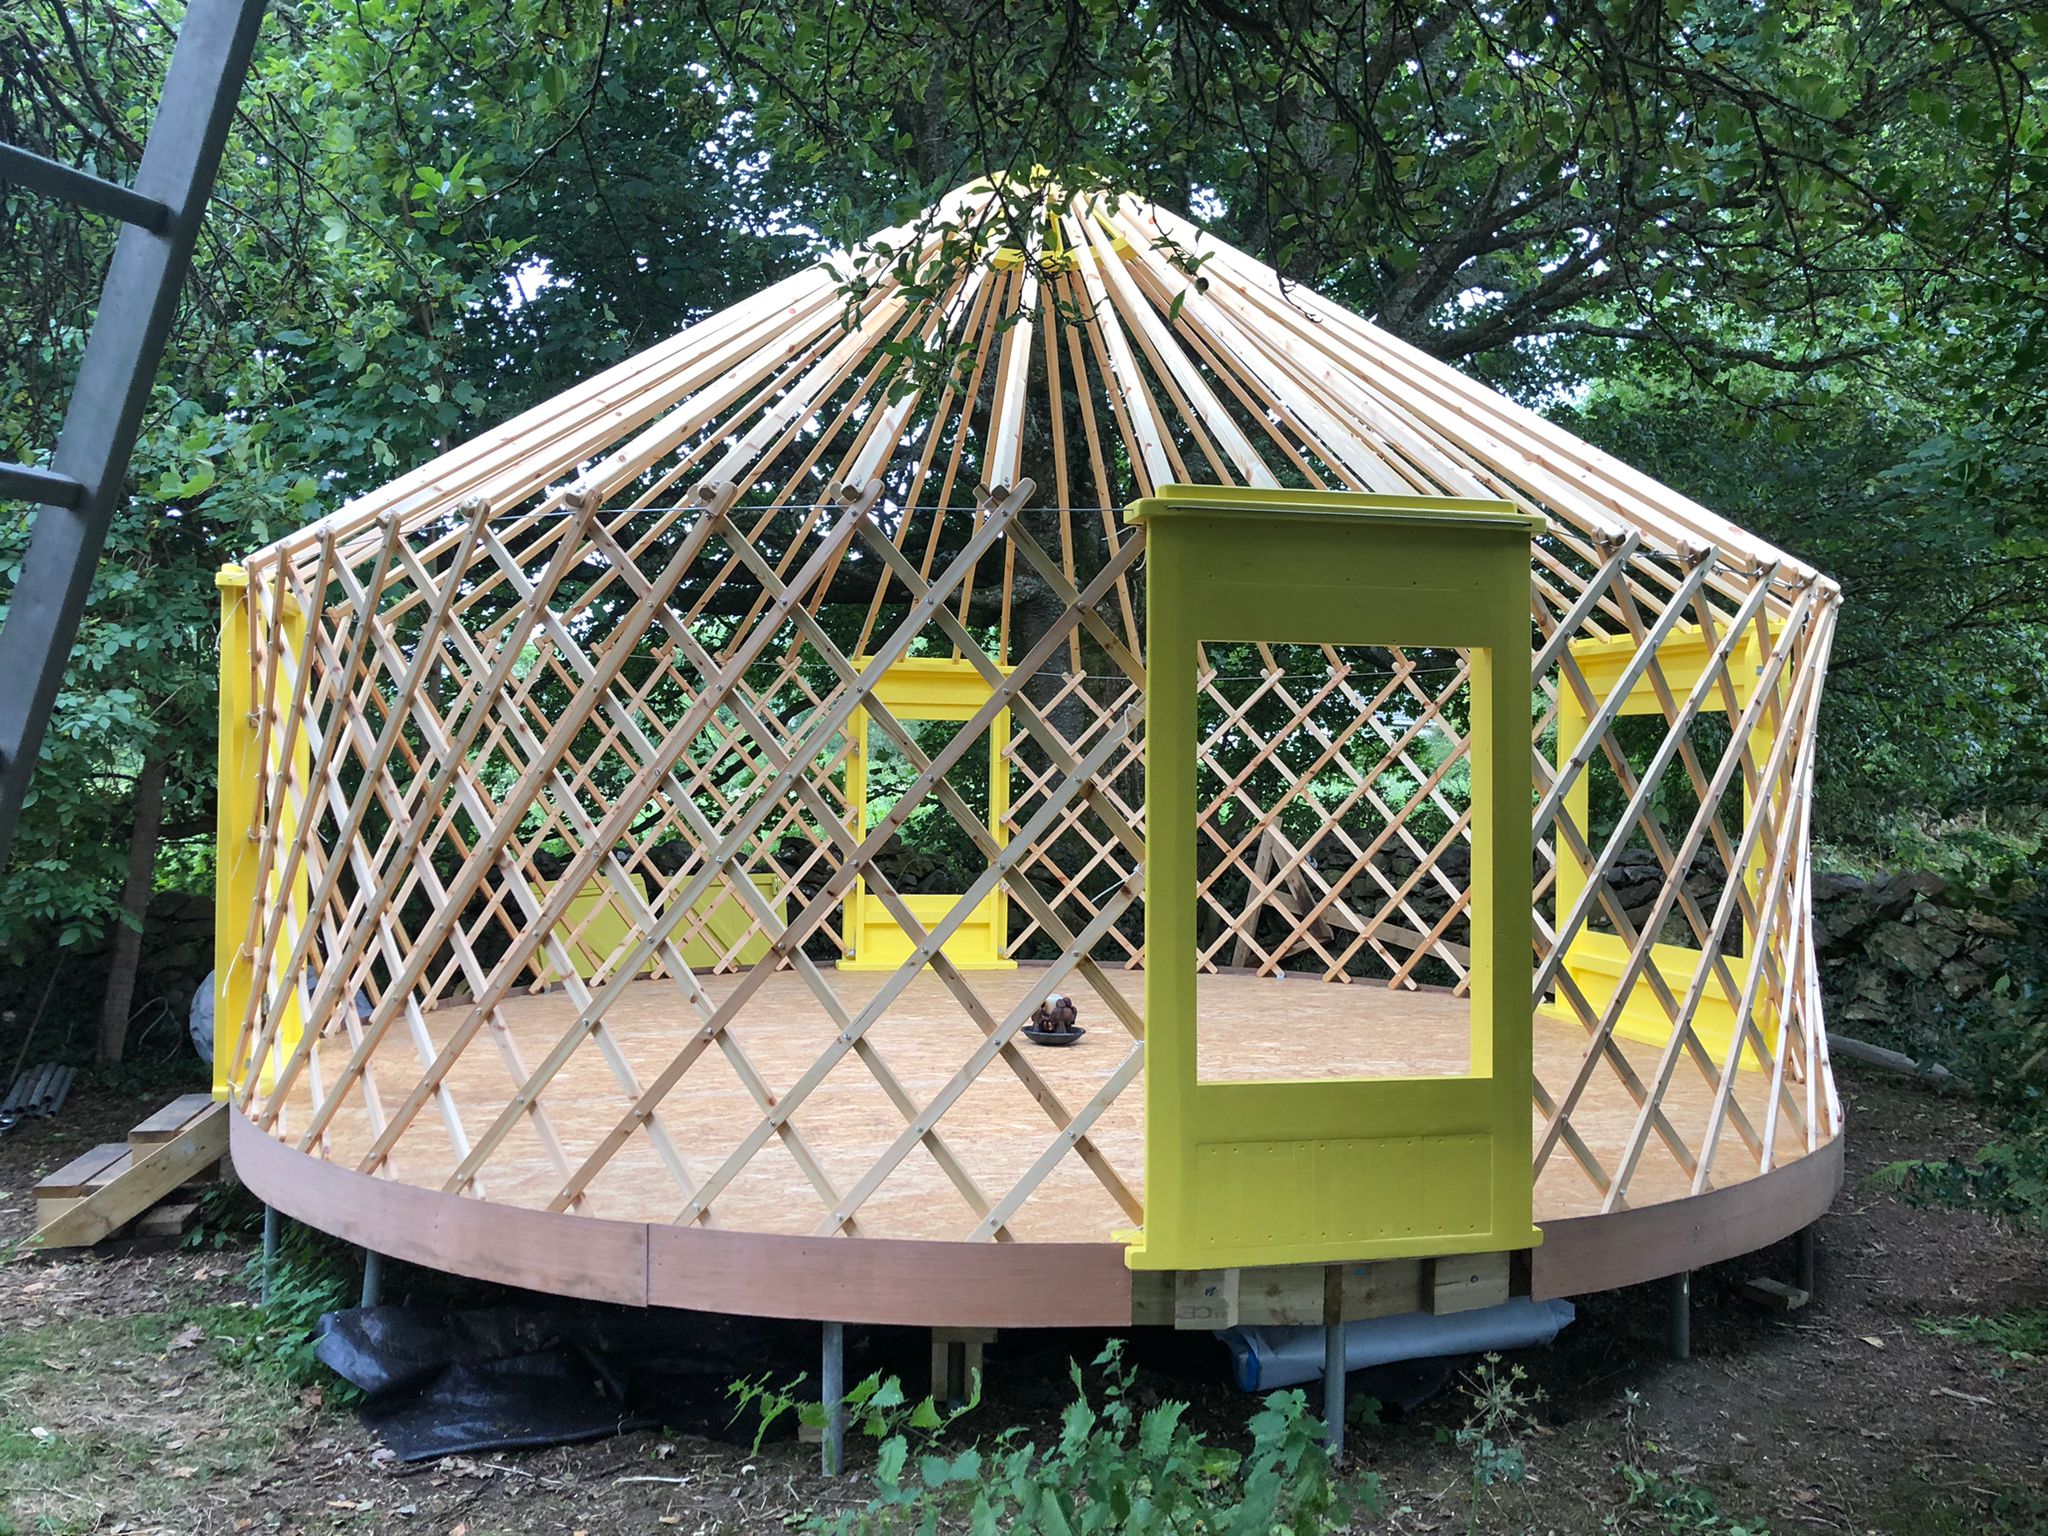
Sit the bearers on the pad blocks, check level along their length, fix to the pads. Lay the joists across them at 400mm centres, check level across the joist tops, fix to the bearers. At this stage you should be able to walk on the joists without noticeable flex.
Step 6: Insulate
We generally use insulation boards fitted between the joists. Sheep’s wool also makes great insulation if you can keep it sealed off.
Drape the foil-faced radiant barrier across the underside of the joists, stapled in place. Lay 100mm sheep’s wool insulation between the joists from above. The wool wants to fill the space without compressing — buy a roll that’s comfortably thicker than the joist depth so it lofts properly.
For yurts used as full-time homes, we recommend insulating to at least 150mm in the floor and adding a small breathable membrane above the wool before the floorboards go down.
Step 7: Floor and finish
Lay the floorboards across the joists, tongues into grooves, screws into the joist line (not into thin air between). Cut the perimeter clean to follow the platform edge. Add the perimeter rim board, screwed to the joist ends.
Common mistakes to avoid
- Building the platform too large. If it extends past the canvas, rain drops onto exposed deck and the timber soaks. Keep it the same diameter as the yurt.
- Skimping on pads. A few extra pad blocks now is much easier than re-levelling later.
- Forgetting drainage under the platform. Make sure water can run away under the deck — don’t accidentally create a pond by digging out a level pad on a slope.
- Building too close to a slope or wall. Leave at least a yurt-radius of space around the platform for the canvas overhang, walking access and fresh air movement.
What we do, and what you can do yourself
A confident DIYer with one or two helpers can build a yurt platform in a long weekend. We’re happy to share a detailed material list and pad layout for your specific yurt size as part of any order.
If you’d rather hand the whole job to us, we can install the platform and put the yurt up for you — site finished, swept and ready to move into.
Thinking about a yurt for your site? Build a transparent quote in about a minute and we’ll come back within one business day.